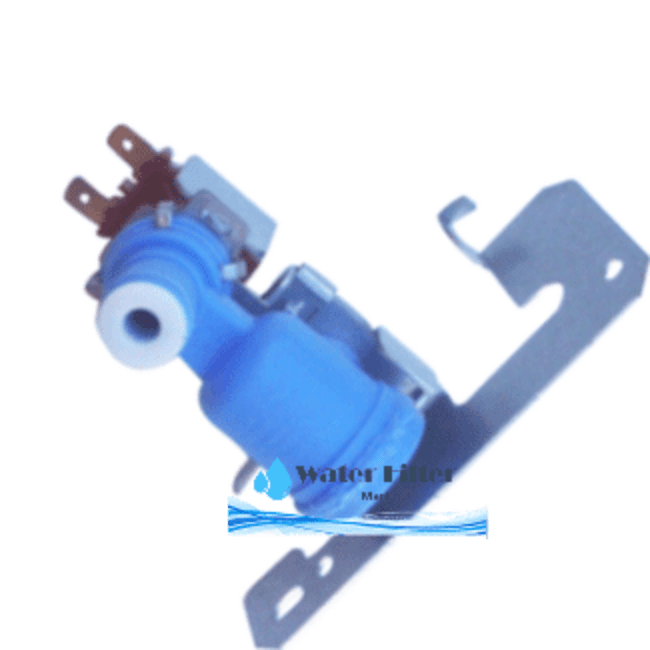
GE WR57x10033 Ice Maker Water Valve
$23.95
Free S&H Over $75
In Stock
Description
GE WR57X10033 Ice Maker Water Valve
(Orders Over $75 get Free S&H)
Has (1/4″ Threaded Inlet) – (1/4″ Easy Slip Outlet)
Replaces Part Numbers: WR57X96, WR57X95, WR57X93, WR57X90, WR57X110, WR57X102, AP3189335, 914151, AH304375, EA304375, IMV-469, IMV469, AP3189335, EAP304375, PS304375, SWR57X90, SWR57X93, WR57X0090, WR57X0093, WR57X0095, WR57X0096, WR57X0102, WR57X0110, WR57X10015, WR57X10034, WR57X10049, WR57X10063, WR57X10075, WR57X102, WR57X110, WR57X90, WR57X93, WR57X95, WR57X96.
Installation Instructions:
- Pull the refrigerator away from the wall far enough so you can access the water line connection and work on the back of the refrigerator. Place a towel under the water valve assembly to catch water.
- Unplug the refrigerator or shut off the circuit breaker for the refrigerator.
- Turn off the water supply to the refrigerator.
- Remove the screws that secure the service panel on the back of the refrigerator and remove the panel.
- Remove the screw(s) that secures the mounting bracket to the frame of the refrigerator.
- Pull water valve out of refrigerator cavity.
- Disconnect the supply water line.
- Disconnect wire harness at solenoid of valve.
- Cut ice maker water tube close to outlet port where it connects to old valve.
- Remove old water valve.
- Now to install new valve.
- Insert water tube as far as possible into outlet port of new ice maker water valve.
- Tug on the water tube to make sure it’s seated properly.
- Attach wire harness lead to the solenoid coil.
- Insert water valve into refrigerator cavity and attach mounting bracket screw(s) to frame of refrigerator.
- Next connect the supply water line. Tighten nut snugly.
- Turn water on and check for leaks.
- When all is good, attach back cover and slide refrigerator back into place.
Additional information
| Weight | 0.75 lbs |
|---|


