
GE GE-XWFE
$69.00
FREE S&H

Fits Following Models
Description
GE XWFE Refrigerator Water Filter XWF
The XWFE Filter replaces the XWF Filter and is embedded with Leak-Detecting Sensing Technology.
This innovation enables refrigerators to shut down the water valve when a leak is detected at the filter.
The size, shape, assembly, and installation of the filter remains unchanged from the previous XWF filter.
RFID
To have Leak-Detecting Sensing Technology, the XWFE filter uses a RFID sensor (Radio-Frequency Identification).
It Seems GE has been making changes to this Filter!
Some Have Made in USA & Some Have Made in China on them!
We Do Not Know What GE Is Doing With These Filters!
It Seems that Older Filters Have an RFID CHIP EMBEDED UNDER WRAPPER and Later Filters Have NO CHIP BEING EMBEDED UNDER WRAPPER ANYMORE! The RFID is the Wrapper Itself!
Recent Review to GE from a customer:
DISAPPOINTING
Discovered that the CORRECT “no ribs” filter is only shipped with the fridge that is labeled “Made in CHINA”…
The REPLACEMENT filters that GE currently offers which are “ONLY with ribs” as a replacement and are labeled “Made in USA”…
Well, they don’t work and continue to show ERROR!
Very DISAPPOINTING and I will no longer be recommending GE products to any of my RV customers!
——————————————————————–
Response from GE:
Greetings.
Thank you kindly for connecting with us and providing feedback on your refrigerator’s water filter. We can certainly understand that when a part you are used to seeing suddenly changes, it can raise lots of questions.
XWFE is indeed the correct filter for your PVD28BYNBFS. In early 2022 we changed the design of our XWFE filters, and they now have slots or spikes on the head. The new filter will still fit in the same spot as the old one with a little extra force needed to push it all the way in, and it is okay that the arrows may not line up completely. The error your seeing can be due to it not being set in place all the way.
XWFE Replacement Instructions
REMOVING THE FILTER
If you are replacing the filter, first remove the previous one by gently grasping the filter and slowly turning it to the left, about a ¼ turn. The filter should automatically release itself when you have rotated it far enough to the left. A small amount of water may drip down.
INSTALLING THE FILTER IN A BOTTOM FREEZER REFRIGERATOR
1. Open the filter cartridge housing by squeezing the front tabs and gently pulling down.
2. Line up the ports on the filter with the ports on the filter cartridge holder, and gently insert the filter.
3. Slowly turn the filter to the right until it stops. DO NOT OVERTIGHTEN. As you turn the filter, it will automatically adjust itself into position. The filter will move about a ¼ turn or 90 degrees, until the arrow on the filter aligns with the arrow on the filter cartridge holder.
4. Slowly push the filter up into the clips.
5. Close the filter cartridge housing by gently pushing the lid upwards until the tabs lock into place.
INSTALLING THE FILTER IN A SIDE BY SIDE REFRIGERATOR
1. Line up the arrow on the filter with the arrow on the filter cartridge holder. Gently push the top of the new filter up inside the holder.
2. Slowly turn the filter to the right until it stops. DO NOT OVERTIGHTEN. As you turn the filter, it will automatically raise itself into position. The filter will move about a ¼ turn or 90 degrees.
INSTALLING THE FILTER IN A MULTI-DOOR BOTTOM FREEZER REFRIGERATOR
1. Open the filter cartridge housing bypulling the door open.
2. Line up the ports on the filter with the ports on the filter cartridge holder, and gently insert the filter.
3. Slowly turn the filter to the right until it stops. DO NOT OVERTIGHTEN. As you turn the filter, it will automatically adjust itself into position. The filter will move about a ¼ turn or 90 degrees, until the filter cannot be turned, and the label faces outward.
4. Slowly push the filter up into the clips.
5. Close the filter cartridge housing by gently pushing the door closed until the tabs lock into place.
Resetting Your Filter Change Indicator
For Bottom Freezer and Side-by-Side Models
Press and hold the RESET WATER FILTER button on the dispenser for three seconds.
On select models, filter reset will be automatic when new filter is installed.
For Multi-Door Bottom Freezer Models
When dispensing water, press the button underneath the Confirm Filter Change message.
On select models, filter reset will be automatic when new filter is installed.
Maintenance For Refrigerator Water Filtration System.
- For Dispenser Models
Run water from the dispenser for 2 gallons (approximately 5 minutes) to clear the system. Water may spurt out and air bubbles may be visible during the process. If water is not flowing, check to make sure the filter has been fully rotated to the right. Use a large pitcher or sports bottle to catch the water spray. NOTE: It is normal for water to appear discolored during the initial system flush. Water color will return to normal after the first few minutes of dispensing. - For Ice Maker-Only Models
Discard the first bin of ice to allow air to purge from the system. A newly installed filter cartridge will cause water to spurt into the ice maker body, which could lead to ice droplets around the ice maker area.
NOTE: It is normal for these droplets and initial ice production to appear discolored during the initial system flush. Ice color will return to normal after the first full bin of ice production.
Additional information
| Weight | 0.75 lbs |
|---|---|
| Dimensions | 6 × 2.25 × 2.25 in |
Related products
-
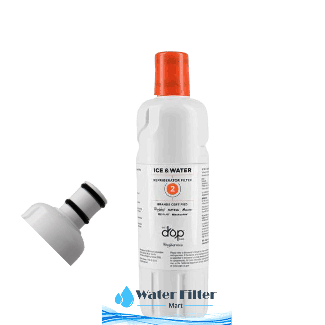
WPL W10413645a Filter 2 for Refrigerator
Price range: $31.00 through $75.00
FREE S&H Select options This product has multiple variants. The options may be chosen on the product page -

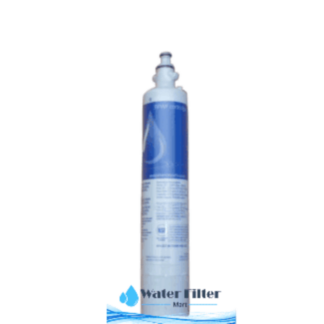
Replacement for Amana WF401 Filter
Price range: $27.00 through $70.00
FREE S&H Select options This product has multiple variants. The options may be chosen on the product page -
GE RPWFE Water Filter With RFID Chip
$69.00
FREE S&H Add to cart -
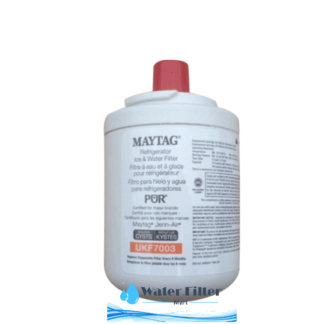
WPL UKF7003 EDR7D1 Filter 7 for Refrigerator
Price range: $35.00 through $99.00
FREE S&H Select options This product has multiple variants. The options may be chosen on the product page